There are plenty of articles and blog posts debating the pros and cons of shooting film over digital, but for me it boils down to two reasons: 1) I want to create something that doesn't require more of my time spent on a computer and 2) I miss working in a darkroom. If you've never developed negatives and created a print with your hands then you are missing the excitement of watching your images come to life. I find that when I shoot film, I tend to take my time with composition, proper exposure and choice of colored filters for my black and white film.

I've been developing my own Black and White film since 2010. The process is fairly quick and straightforward as long as I have a quality negative, properly stored chemicals and the correct developing temperature. After developing and drying the negatives, I scan them onto my computer for editing and the uploading to the web.

Last year I was looking for some new film, I stumbled upon the Film Photography Project's Podcast and empathized with their excitement about shooting film and developing it at home. Their excitement rekindled my desire to build my own darkroom. So while on vacation in Las Vegas I searched eBay for an enlarger and bought a well-maintained Beseler 67CP, but after reading reviews on the seller I got worried so I bought another Beseler 67 for the same price from a different, highly-rated, seller. Well they both showed up at the same time, so now I have two enlargers. I purchased the rest of the darkroom supplies from B&H Photo. The only thing left to do was convert the guest bathroom into a make-shift darkroom.


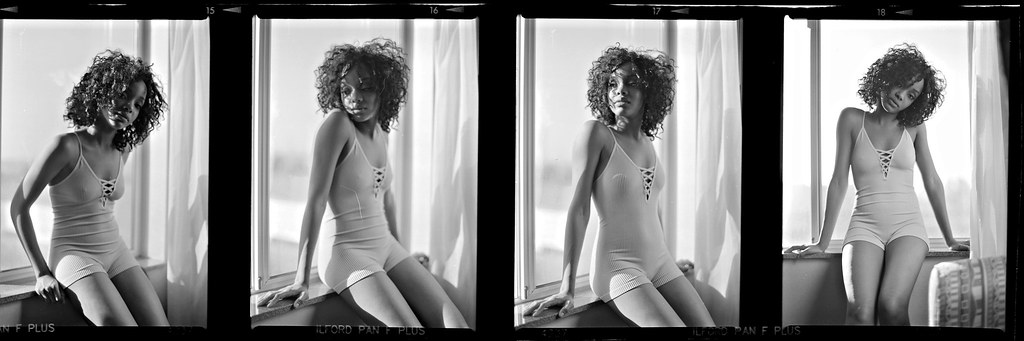
Now that the room was ready, it was time to get enlarging and printing. Below are examples of a contact sheet and print. I still have a long way to go, but it sure beats sitting in front of a computer and using someone else's actions and filters.


One new thing I did learn is split-filtering. Back in school we usually chose one grade of contrast filter and made multiple test exposures, but with split filtering you use one filter to ensure you maintain detail in the highlights and another to maintain details in the shadows.

Once the prints have been developed and washed I place them on expandable windows screens in the shower.
Tip: before drying negatives or prints, run a hot shower until it gets steamy and then dry the prints. The moisture will give the dust particles something to adhere.
 |
If you have the opportunity to shoot film, try developing your own, it is really rewarding and then you can post your film pictures with hashtags that say #ishootfilm #filmisnotdead #analogrenaissance #shootfilmnotmegapixels |
 -
-Posted using BlogPress from my illusive iPad
Dude! Love this blog! -Dave Hernandez
ReplyDeleteThank you Batman
DeleteNice brother, nice! You are enticing me to go back to printing! Did it back when I was 14 years old, now 51, time flies!!! Still have my enlarger under the stairs, Omega C700 ��
ReplyDelete